

It would be difficult to underestimate the the difference between the way households are run today and the way that they were run not so many generations ago (especially prior to the Twentieth Century). Traditional households acted as whole societies, with a responsibility to invest their labor, resources and time in themselves, and to obtain a certain level of self-sufficiency. This was not an attitude which was opposed to their nation (or earlier still, their kingdom), but was seen as a genuine responsibility and proper participation in this larger society. To put it differently, the family was seen as the fundamental political unit, the building block from which a healthy organic society must be built. The revolution which has taken place in our pantries and cellars is one reflection of how much our notions have changed. Today, families go to the grocery store to fill their pantries once a week or perhaps sometimes even more often. Special occasions (say Christmas, Easter, Thanksgiving) mean that we go to the grocery store a day, perhaps a few days, in advance to stock up on everything that we will need for a full day of cooking. This manner of pipeline buying and consuming, however, is an absolute anomaly from a wider historical and cultural perspective. For one thing, we have lost any sense for the importance of food. We easily purchase our food nearly ready made and rarely need to think of it at all. It is always at our disposal and for most of us it is never scarce (except when we run out of snacks). We have a fast food mentality. Our food has no meaning. People speak of the rampant sense of entitlement that so many people seem to suffer from in our society. My thought: it started with food.
Contrast this situation with traditional ways of treating food: Pantries were a matrix of different foods being prepared at different rates. Meat would be curing, herbs drying, cheese fermenting etc. Strategy had to be utilized. At a basic level, a well rounded diet needed to be assured but, beyond that, feasts had to be prepared for, traditional meals of particular seasons and times planned and of course, a different availability of various foods (the gift of Providence, out of the palm of God) structured all of these considerations. My point is that food was meaningful. For the Catholic family-society all food preparations were engendered by the yearly liturgy, giving food a sacred meaning.
In the past Catholics have prepared for Christmas all year long, not just during Advent. Even in early spring, for instance, there was brewing, distilling and other preparations that anticipated the coming Christmas. The brewing of special beers, wines and the like is a perfect example of this. Ale would be brewed, weeks or more in advance, wines for months or some years, meads for much longer still. Fermentation is sacred... beer, cheese, sausage, yogurt... Bread and Wine: there is something holy about these foods. There is a living transformation, a turn, a blossoming, a true metamorphosis, which is itself an icon of the Incarnation, of the Eucharist. In other words there is something sacramental about the process of fermentation. No wonder so many monasteries have had fermentation at the heart of their holy work.
The brewing process is intrinsically appropriate for the Advent season. The anticipation of the ale coming into its own parallels the coming birth of the Messiah and feast of Christmas, when we will toast the birth of the newborn king.
Does it sound like I am proposing a Theology of Beer? Yes, yes I am.
+
How hard is it to brew beer? Not much harder than making soup from scratch. You will need to buy a basic beer making kit (including a thermometer, a primary fermenting bucket with lid, a bottling bucket, an airlock, a racking cane, 4 foot hose, springless bottle filler and a bottle capper) which you can easily find for about $70. You will also need 50-55ish 12 ounce non-screwtop beer bottles.
Homebrewing is divided up into two or three stages (the second stage being optional), each taking place on a separate day. Stage 1 is the brewing and primary fermentation stage. After a week or so comes optional stage 2, when the beer is transferred to a secondary fermentor. The purpose of this stage is simply improved quality. The beer is siphoned (racked in beer parlance) into a secondary fermentor for about 5 days to purify the beer's flavors. You can skip this stage and move right into stage 3. Stage 3 is the bottling day.
Note: if you do decide to follow stage 2, you will need to buy a carboy (plastic or glass) and a carboy plug.
Brewing may seem intimidating but, at the end of the day, it is quite simple, without getting into the science of the art, to make extremely high quality beer on your first try. The best homebrewing book I know of is The Complete Joy of Homebrewing (3rd edition), by Charles Papazian. This book is a great reference, although honestly if you just follow the directions below you will be just fine.
The following is my recipe for a Christmas Ale. It will yield about 5 gallons, or 50 12 ounce bottles of beer, give or take.
DAY 1
I am excited to brew this ale, which is completely experimental. I have no doubt that it will turn out as a good solid brew. In my experience, as long as you stay within a few basic parameters, home brewing produces consistently decent beer. What is experimental here is to what extent it properly expresses the season. Worst case scenario, it will either be just a good basic beer or it will be a tad bit too spicy.
Ingredients
A. Malt or Fermentables
1.) 6 LB 6OZ Light/Pale Malt Extract Syrup
2.) 12 OZ, 1 3/4 Cups Brown Sugar, Dark
3.) 8 OZ Crystal 60L
4.) 8 OZ Crystal 40L
5.) 4 OZ Victory Malt
6.) 2 OZ Roasted Barley
7.) 1 cup molasses (optional)
Aside from the molasses and the brown sugar, you should simply go to your local brewing store and give them this list of ingredients. They will likely give you a brown bag with all of the grains and a tub of the liquid malt.
Aside from the molasses and the brown sugar, you should simply go to your local brewing store and give them this list of ingredients. They will likely give you a brown bag with all of the grains and a tub of the liquid malt.

B. Hops
1.5 OZ Cluster (an item for the brewing store)
C. Yeast
Nottingham Ale Dry Yeast (an item for the brewing store)
D. Other
1.) 1tsp. Cinnamon
2.) 1 tbsp. Ground ginger
3.) 1 tsp. Irish Moss (probably most easily found at your brewing store)
4.) 2 vanilla Beans
5.) 5 gallons of water (for the sake of quality, I purchase gallon jugs of spring water)
5.) 5 gallons of water (for the sake of quality, I purchase gallon jugs of spring water)

Directions
Day 1
1.) Sanitize. This is a very important step that you will not want to skip. There is nothing worse than producing 5 gallons of waste. You can get sanitizing solution for brewers or you can make your own sanitizing solution: 1 tbsp of bleach mixed with 2.5 gallons of water. Carefully wash all surfaces that will come into contact with your beer (thermometer, fermentor, fermentor lid, stirring spoon, cooking pot, airlock). Rinse and then let air dry.
2.) Heat 2.5 gallons of Spring water to between 150-165 degrees Fahrenheit.


3.) Place grains into steeping bag, put bag of grains into brewing pot and steep for 20-30 minutes.


4.) Remove steeping grains and discard.

6.) Put liquid malt, molasses, brown sugar and hops into boiling wort.

7.) Stir very carefully as the molasses and malt like to stick and burn on the bottom of the pot.
8.) After 45 minutes from having added stir in 1 teaspoon of Irish Moss
9.) After 55 minutes from having added the hops stir in cinnamon, ginger powder, allspice, nutmeg. Be pretty strict about the timing on these spices. They are volatile and will cancel out if they are boiled for over 5 minutes.
10.) After 60 minutes from having added the hops, remove from boil.

11.) Place Pot into ice bath in sink.

12.) Pour wort into primary fermentor. Try to pour it from as a high a distance from the fermentor as you can safely manage. This aeration will help to cool the Wort down.


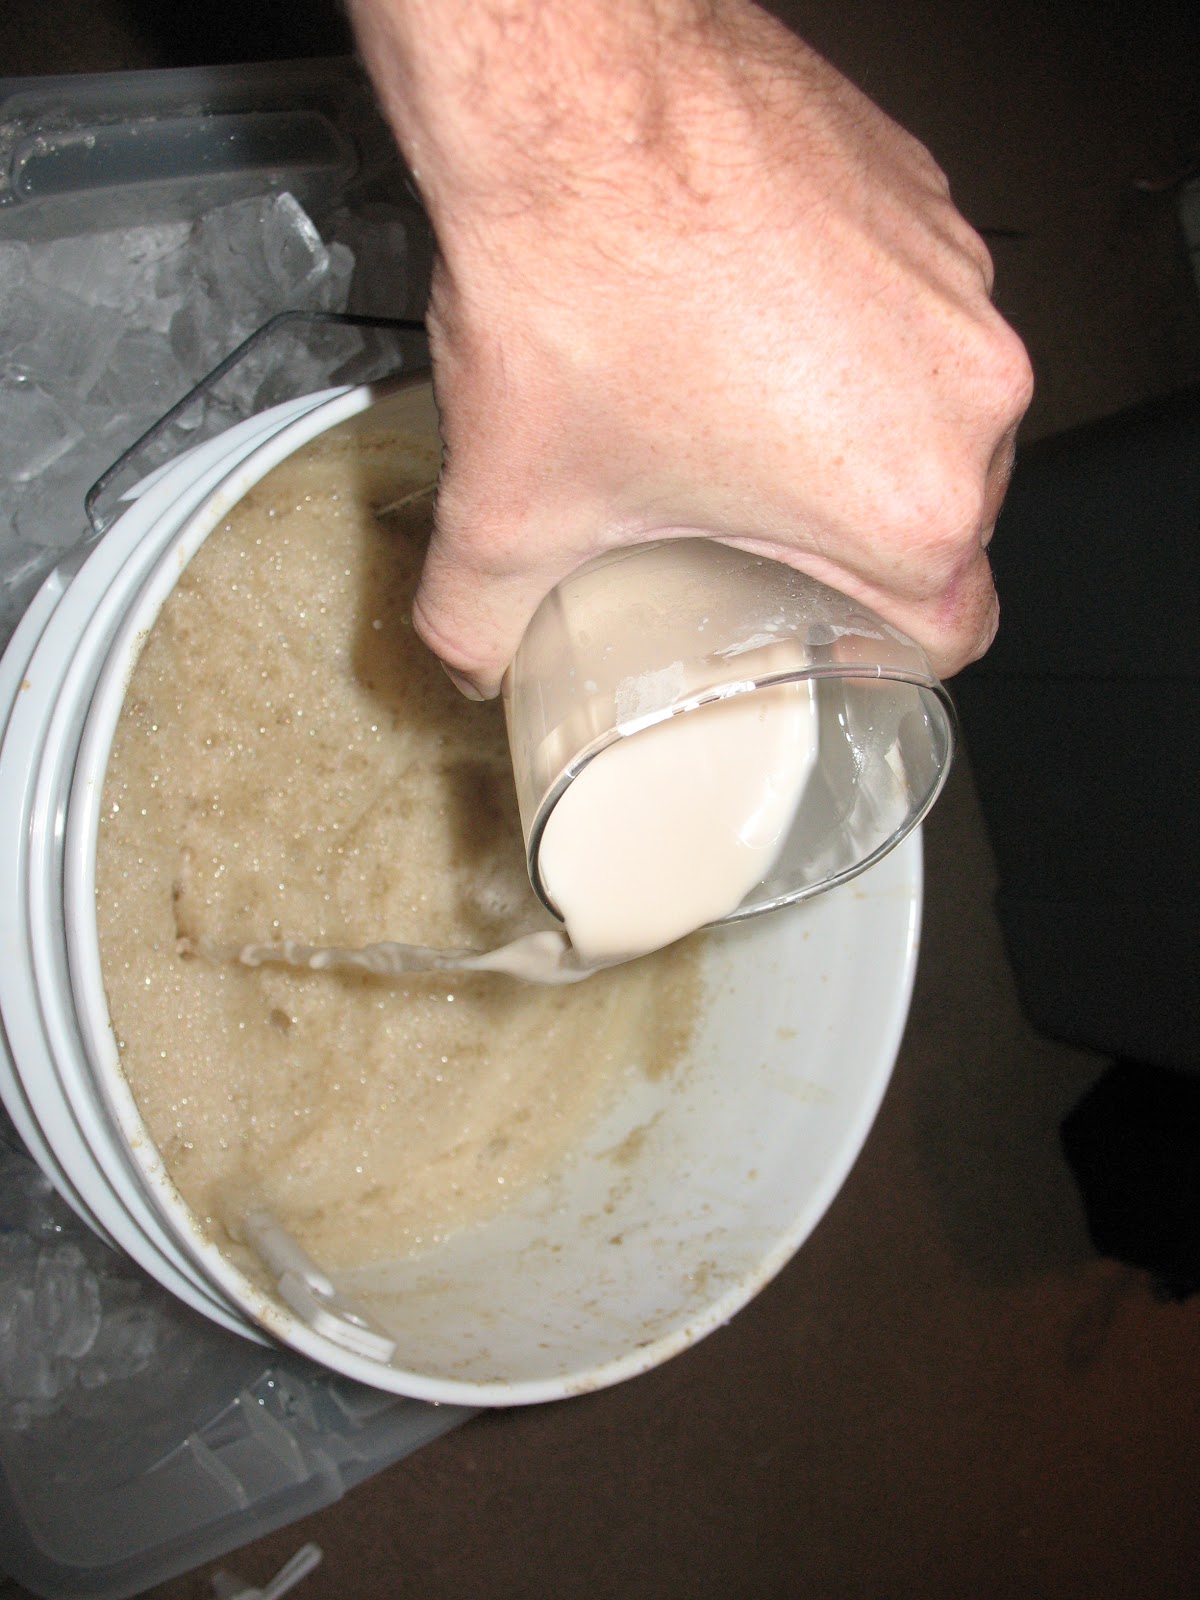
14.) This is the trickiest stage to my mind in the brewing process: chilling the wort down to 60 degrees. You can purchase a wort chiller and perhaps I will try to make one at some point. For now, I place the primary fermentor in a large Tupperware and pack the space around it with ice. Then I stir. And stir. And stir… Yup, still stirring.


15.) At some point when you might want to take a stirring break, you can hydrate your yeast. All this means is mixing your yeast with water. Simply follow the directions on the back of the yeast packet.

17.) Close the fermentor.
18.) Add airlock. I use vodka in the airlock which keeps the fruit flies away.

19.) Within the next 24 hours the airlock will begin to bubble excitedly, signifying an active fermentation process. This should continue for 5-14 days. Whenever this process ends, is when it is time for the secondary fermentation (day 2) or, if you want to skip the secondary, it is time for bottling (day 3).
To keep the fermentor cool: If you are keeping your fermentor in an environment which is a bit warmer than is ideal for ale (60-70 degrees), you can keep it about 10 degrees cooler by wrapping it in a wet towel. You can keep the towel saturated by wrapping a rubber tube around the top of it with small holes punched into it, which you pump cool water through with an inexpensive indoor fountain pump.


No comments:
Post a Comment